Market Settings
Configure your market's appearance, functionality, and operational parameters
🚀 Performance & User Experience Updates
Recent improvements to make your market faster and more user-friendly.
New Performance Features
- Infinite Scroll Product Loading: Products load automatically as customers scroll - no more pagination buttons to slow down browsing
- Server-Side Grower Filtering: Filtering by grower is now handled server-side for much better performance with large product catalogs
- Optimized Category Loading: Categories now load with Redis caching (10-minute TTL) for faster page loads
- Debounced Search & Filters: Search and filter updates are optimized to reduce unnecessary API calls
- Improved Mobile Performance: Market pages now load 3x faster on mobile devices
Enhanced Product Management
- Better Product Visibility Controls: Inactive products are properly hidden when Edit Mode is off
- Scroll Position Memory: The page remembers where customers were when they return from viewing product details
- Admin Grower Selection: Market managers and superusers can now select which grower to associate with new products
Basic Market Information
Your market's core identity and contact information.
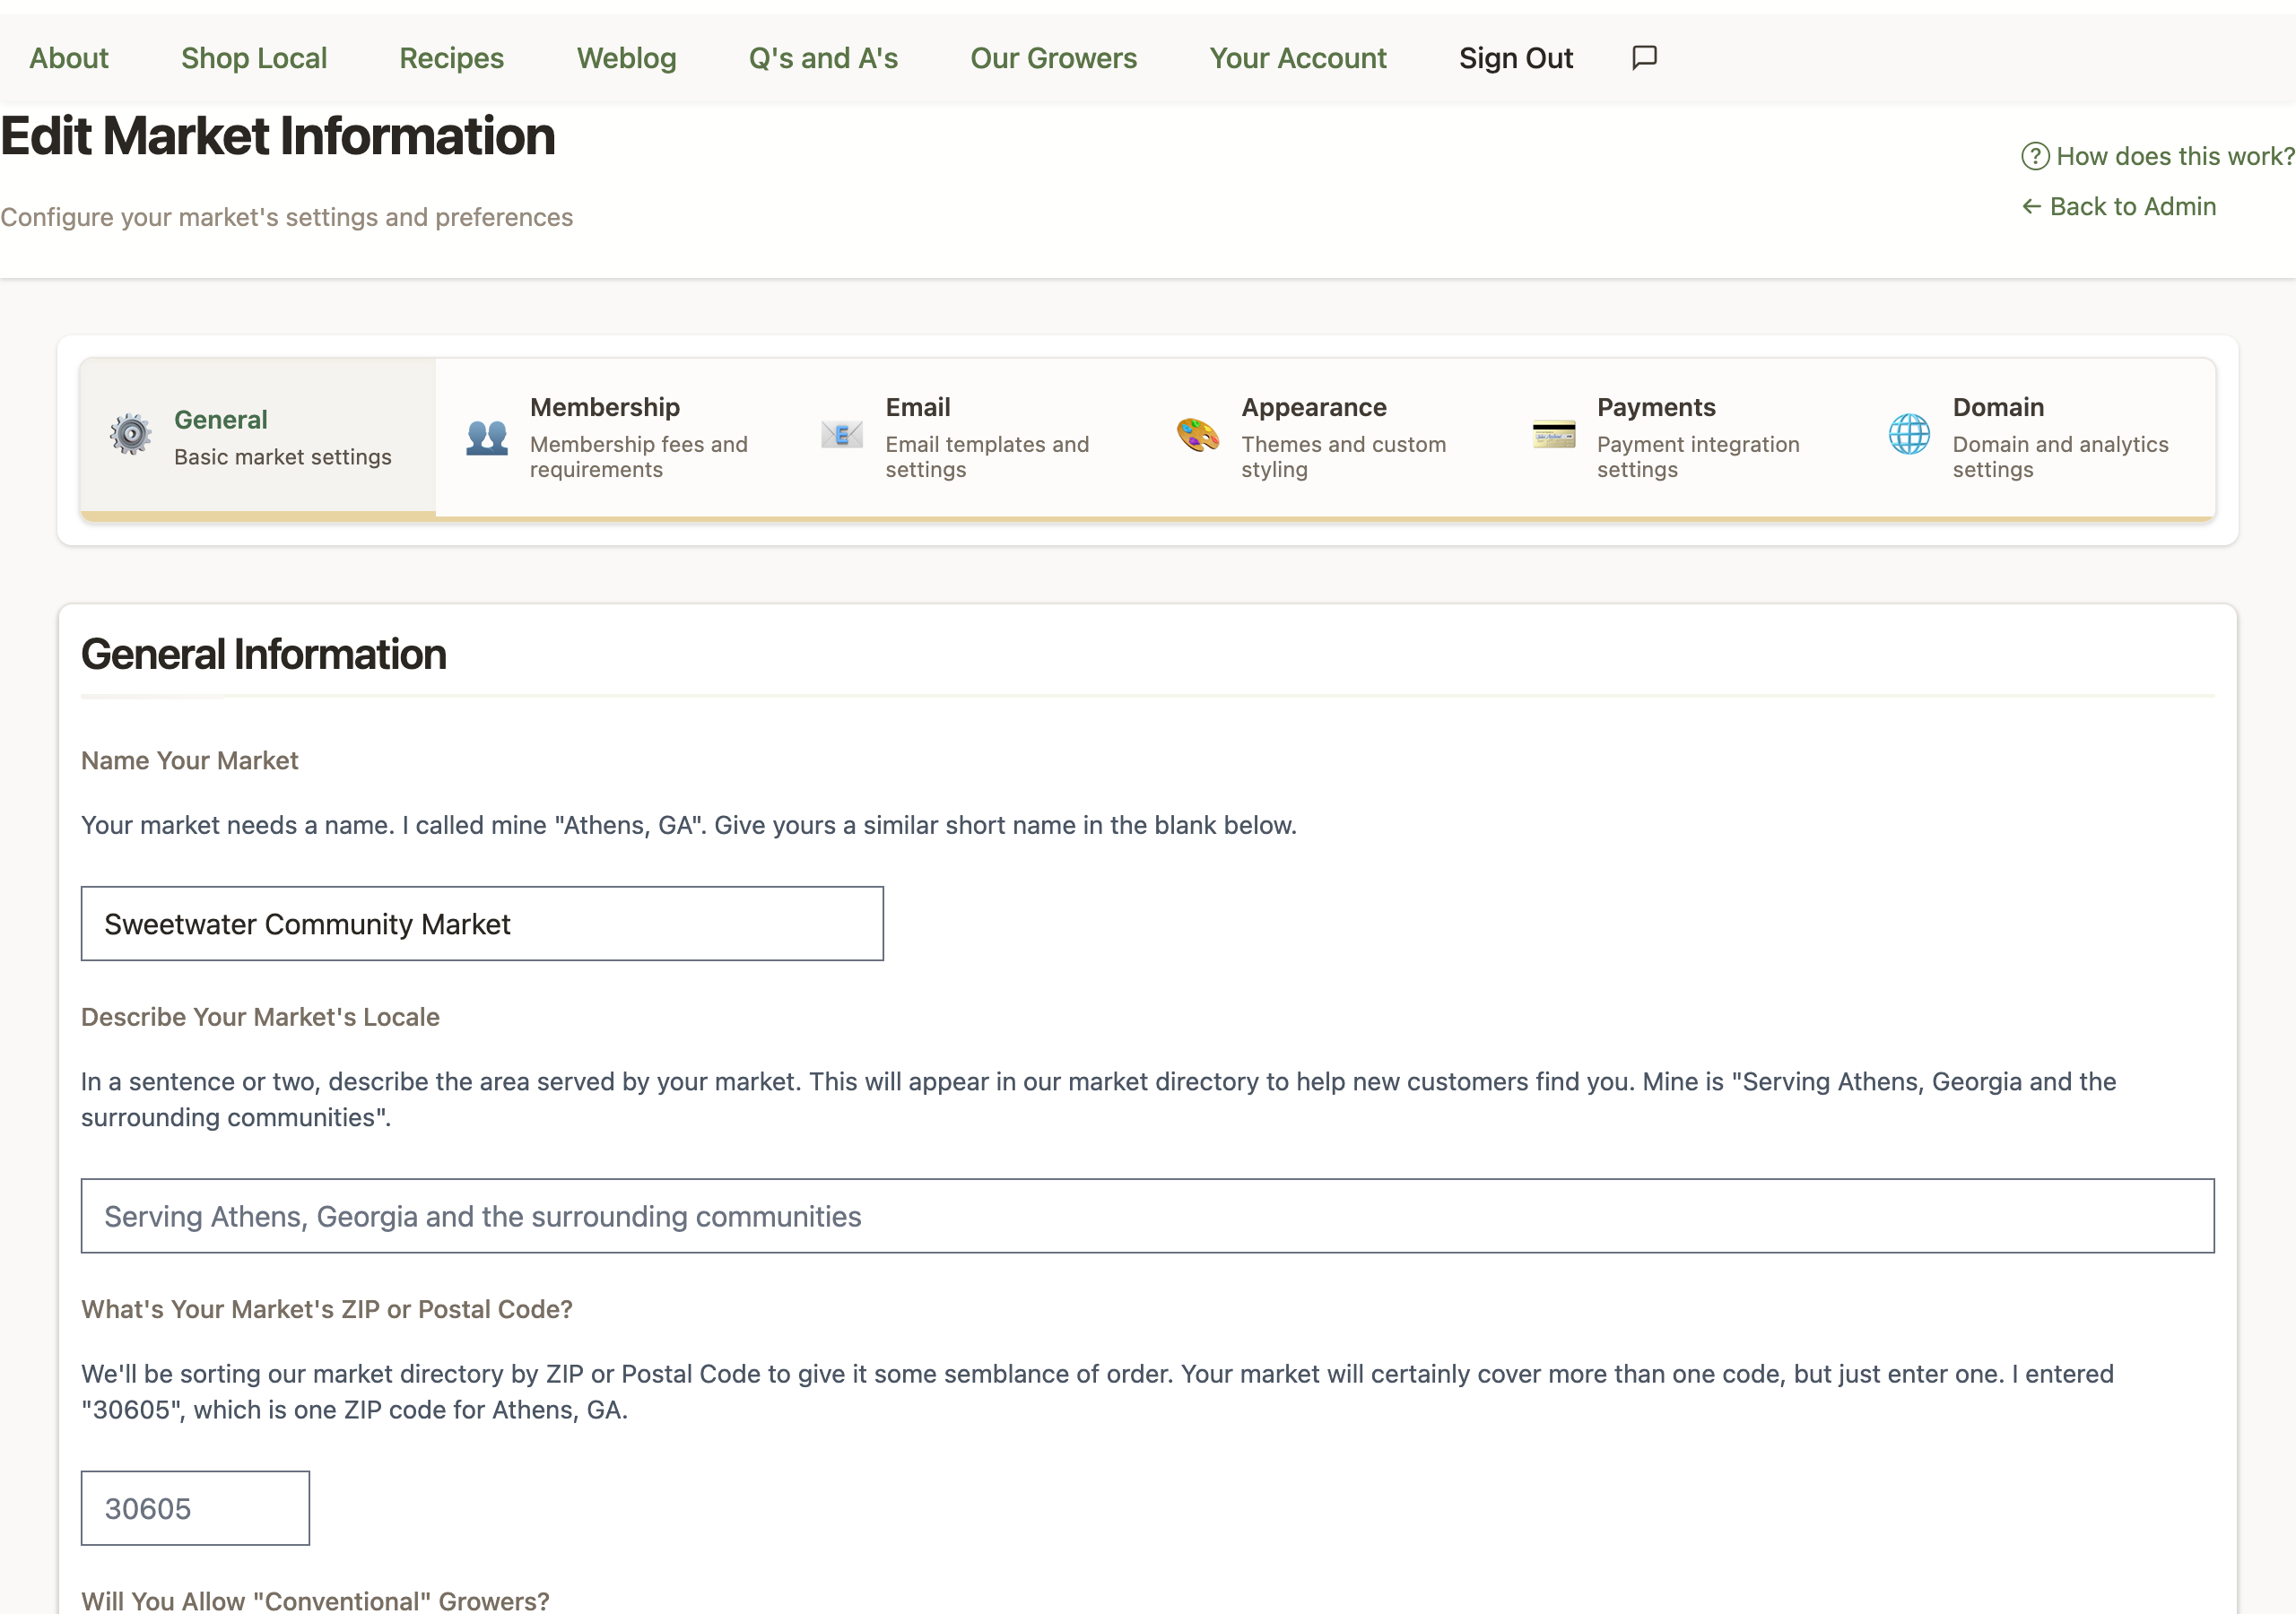
Market Identity
- Market Name: The public name displayed to customers
- Subdomain: Your market's web address (yourmarket.locallygrown.net) - cannot be changed after creation
- Slogan: A tagline displayed at the top of your market's pages
- Welcome Message: Text displayed on your market's homepage
- Footer: Information displayed at the bottom of every page
Location Information
- ZIP Code: Used for customer searches and mapping
- Locale: City, state (or region) for display purposes
- Coordinates: Automatically geocoded from ZIP code for map display
Financial Settings
Configure how fees and payments work in your market.
Market Revenue Model
- Default Grower Percentage: What percentage of sales growers keep (default: 90%)
- Customer Percentage: Optional surcharge added to customer orders
- Customer Percentage Label: How the surcharge appears to customers (e.g., "Market Surcharge")
- Software Fee: The platform fee percentage (standard 3% of sales)
Platform Fees
LocallyGrown.net charges a 3% platform fee on all sales. Note that this does NOT include Stripe payment processing fees, which are separate and paid directly to Stripe.
Membership Configuration
Set up customer membership requirements and fees.
Membership Options
- Requires Membership: Whether customers must pay membership fees
- Membership Fee: Annual or lifetime fee (default: $25)
- Trial Orders: How many orders new customers can place before paying membership (default: 2)
- Membership Length: Annual (renews yearly) or Lifetime (one-time payment)
When to Use Memberships
- CSA-style markets: Where customers commit to regular purchases
- Exclusive communities: Limited access markets
- Cost offset: Help cover operational expenses
- Commitment building: Encourage regular participation
Product Configuration
Control what types of products can be sold and how they're managed.
Product Types
- Allow Conventional Products: Non-organic products permitted
- Allow Wholesale Products: Bulk/wholesale pricing available
- New Products Disabled: Temporarily disable new product additions
- Growers Edit Categories: Allow growers to create/modify product categories
Category Management
Categories organize your products into logical groups (like Vegetables, Dairy, Baked Goods) and make it easier for shoppers to browse your market. Well-organized categories improve the shopping experience and help customers find what they're looking for quickly.
Initial Category Setup (Bootstrap Feature)
When your market has no categories, you'll see an interactive setup wizard offering two options to get started quickly:
🎯 Option 1: Copy from Existing Market (Recommended)
Import a complete category structure from an established LocallyGrown market. This feature is designed to help new markets launch faster by learning from successful markets.
How the Bootstrap Feature Works:
- The wizard displays a dropdown of active markets that have at least 5 established categories
- Each market option shows the market's name and category count (e.g., "Athens Locally Grown (12 categories)")
- Select a market whose category structure best matches your planned product mix
- Click "Copy Categories" to see a confirmation showing exactly what will be imported
- Confirm the import and all categories are instantly copied to your market, preserving:
- All category names and descriptions
- The complete parent-child hierarchy (subcategories remain nested)
- The display order of categories
Benefits of Bootstrapping:
- Time Savings: Save 30-60 minutes of setup time by importing a complete structure
- Proven Structure: Learn from markets that have refined their categories over time
- Immediate Launch Readiness: Growers can start adding products right away
- Customizable: All imported categories can be edited, renamed, or removed after import
💡 Tip: Look for a source market that serves a similar community or has a similar mix of growers (e.g., if you're in a rural area with lots of livestock farms, choose a source market that has well-developed meat and dairy categories).
🛠️ Option 2: Build Your Own
Create categories manually, one at a time. Choose this option if your market has very unique needs or you prefer complete control from the start.
- Click "Create First Category" to open the category creation form
- Enter a category name, optional description, and display order
- Repeat the process to build your complete category structure
- Add subcategories later through edit mode
Managing Categories After Setup
Once you have categories (whether imported or created manually), you can manage them through your market's edit mode:
- Add Categories: Create new categories anytime from the market page in edit mode
- Edit Categories: Rename, reorder, or change descriptions as your market evolves
- Create Subcategories: Nest categories under parent categories for better organization (e.g., "Leafy Greens" under "Vegetables")
- Reorganize: Change the parent category or reorder display positions
- Delete Categories: Remove categories that are no longer needed (you must first reassign any products in that category)
- Automatic Hiding: Empty categories are automatically hidden from shoppers, so you don't need to worry about categories without products
Category Best Practices
- Clear Names: Keep category names clear and descriptive so shoppers know what to expect
- Optimal Quantity: Use 5-12 top-level categories for most markets (fewer feels empty, more becomes overwhelming)
- Strategic Subcategories: Create subcategories when a top-level category has many diverse products (e.g., "Leafy Greens," "Root Vegetables," and "Tomatoes" under "Vegetables")
- Seasonal Adjustment: Review and adjust categories seasonally as your product mix changes (more root vegetables in fall, more berries in summer)
- Grower Input: Ask your growers what categories would help them organize their products effectively
- Shopper Perspective: Think about how customers shop - group products in ways that match shopping patterns
Reusing the Bootstrap Wizard
The bootstrap setup wizard only appears when your market has zero categories. If you want to start over with a fresh import:
- Delete all existing categories from your market (in edit mode)
- Reassign any products to temporary categories before deleting
- Once all categories are deleted, the wizard will reappear automatically
- You can then import from a different market or start fresh
⚠️ Important Considerations
- Permanent Import: Copying categories from another market cannot be automatically undone. To start fresh, you must delete all categories individually.
- Structure Only: Only the category structure is copied - no products are imported from the source market. Your growers will add their own products.
- Review Imports: Always review imported categories to ensure they match your market's product mix. Delete or rename categories that don't fit.
- Product Reassignment: Before deleting a category with products, you must reassign those products to other categories.
Email Configuration
Set up email communications with your customers and growers.
Email Options
- Custom Email Address: Use your own email for market communications
- Hosted Email: Use @locallygrown.net email addresses
- Email Forwarding: Forward hosted emails to your personal email
Automated Emails
- Welcome Emails: Sent to new customers and growers
- Order Confirmations: Sent when customers place orders
- Harvest Notifications: Sent to growers about order fulfillment
- Reminder Emails: Pickup reminders and outstanding balance notices
Advanced Settings
Configure advanced features for your market's specific needs.
Operational Features
- Pickup & Drop-off Locations: Multiple pickup points for customers, and grower drop-off spots with check-in and routing tools (beta, may change). Both toggles live in the "Pickup & Drop-off Locations" section of your Market Manager dashboard rather than on this settings page — see the Drop-off Locations guide
- Share Grower Information: Make grower profiles publicly visible
- Volunteer Fulfillment: Allow volunteers to help with order preparation
- Grower Order Editing: Let growers modify orders (quantities, substitutions)
Content Features
- Recipes Enabled: Show/hide recipe section
- Ordering Status: Temporarily disable ordering with custom message
- Time Zone: Configure local time zone for order scheduling
Analytics Integration
- Google Analytics: Track website traffic and customer behavior
- Custom Analytics Code: Integrate other analytics platforms
- Performance Monitoring: Monitor market performance and growth
Best Practices
Starting Configuration
- Start with simple settings and add complexity as you grow
- Test all settings with a small group before full launch
- Document your settings for team members
- Review settings quarterly and adjust based on feedback
Customer Experience
- Keep welcome messages concise but informative
- Clearly explain any fees or surcharges
- Make contact information easily accessible
- Use consistent branding throughout your market
Financial Management
- Understand all fees before setting grower percentages
- Consider operational costs when setting market surcharges
- Communicate fee structure clearly to growers
- Review financial settings regularly as your market grows